Let us bring all the parts of a possible keel bolt concern together for you. You need to be able to define, likely with professional help, if there is a problem. Then what is it likely to cost to fix. This includes the yard charges as well as our repair charges. Then there is a fast look into how it is actually accomplished.
Figuring out if there is a problem
There are some checks you can do well before launch that will ensure you have a safe boating season this summer. One of them is the condition of the keel bolts. Admittedly, you can see only a small portion of them from the bilge, but it gives you an idea of their condition. Add the inside condition to what you see or don’t see from the outside, and you get a rough idea of the overall condition of the bolts.
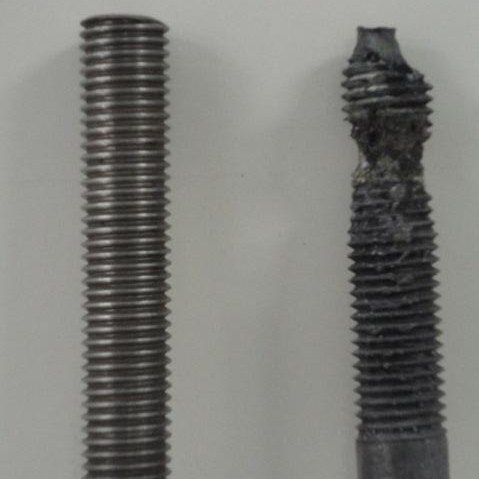
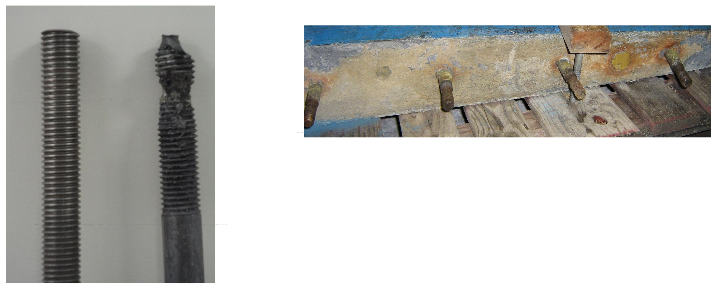
Close up of a corroded bolt removed from a Keel.
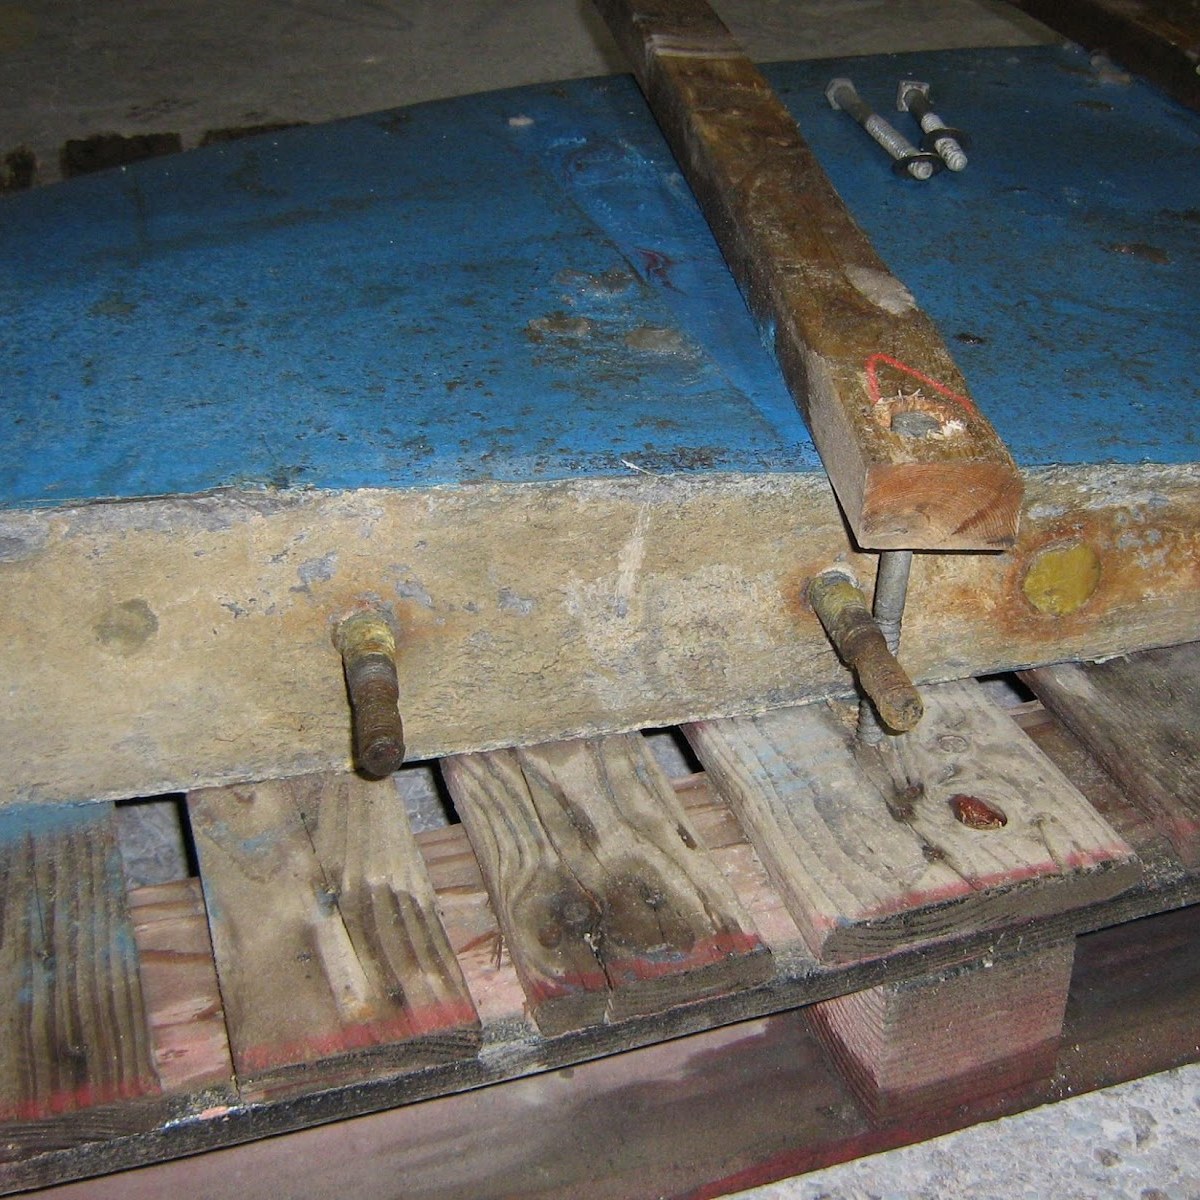
Typical Keel arrived at our facility for a bolt replacement.
(Above) This is a keel with what looks like surface rust on the bolts from inside the bilge. The keel has serious corrosion where the bolts pass through the FRP. This is exactly the problem you want to find and fix. At this point, there would have likely been water and rust stains running down the keel, but that is not a guarantee. That is why you need to check every year, especially as the boat ages.
General Outline on Corrosion
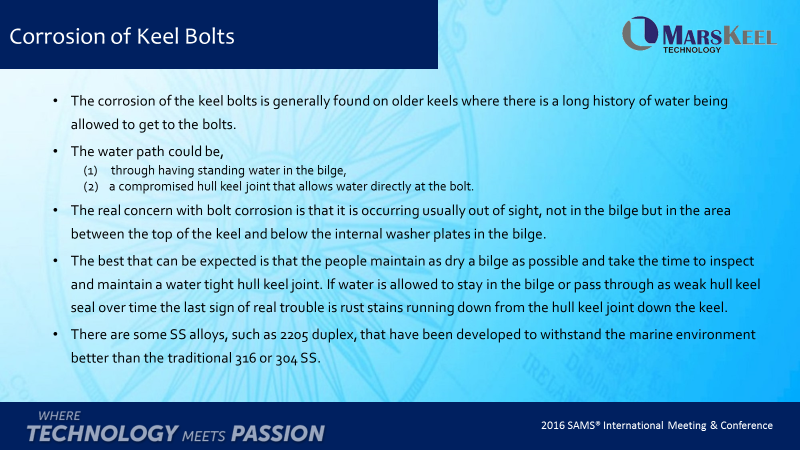
If the bolts look clean and dry, no visible corrosion, from what you see in the bilge and the hull- keel joint is not cracked open or showing water or worse rust trails running from it. There is a good probability that the bolts are in good condition. There is a very big but to this! The only way to know what condition the bolts are in is to lower the keel and look at them. The bolts corrode mainly in the area where they go through the FRP (fiberglass) hull. Here, the water can get trapped, and no oxygen can reach the bolts to protect them. This condition promotes corrosion. So, if there is any doubt in your mind or something doesn’t look right, call in a qualified professional to inspect them for you. This is not something that you want to ignore. The loss of a keel can be a tragedy. Please spend the time, so you are not a statistic!
Local yard work and costs
Visually inspecting the bolts will require the keel to be dropped by a qualified yard. You need to be careful not to damage the keel bolts or the bottom of the boat in the process. This process will have to be reversed if the bolts have been replaced to reinstall the keel on the boat again.
Replacing the keel bolts
Replacing bolts in a cast lead keel brings the keel back to virtually as new condition. We replace the bolts in the current positions (as close as possible, likely within 1/16” or more), re fair the keel making it ready to go back on the boat. On most keels, this process is straightforward; however, we have run into older foreign-made keels that have bolt to bolt connections inside the casting that make removal and replacement difficult and occasionally not possible. In almost 20 years, I have seen one keel that we couldn’t remove the bolts without destroying the keel in the process. We got around that as well. We cast a new keel using the old one as the pattern. For every other keel, the removal and installation process is accomplished easily by our very experienced staff.
A General Pricing Break Down
This is an overview of the typical price break down of the project.
Let’s define the keel as follows:
- Offered in USD.
- It is 5,000 lbs. with 8 bolts
- Is within approx. 1,000 hundred miles of our facility
The re and re of the keel that is up to your local yard. (Additional cost not covered by MarsKeel Technology)
The bolt replacement is $475.00 per bolt plus freight.
8 bolts………………………………….8 x $475 = $3,800.00
Freight approx. 500 miles $1200 x 2 = $2,400.00
Total estimated cost……………………………….$6,200.00
So, as you see it is not a massive expense…. a new set of sails could cost that or more.
Keel Repair Process
Now that you generally know how to recognize the signs of corroding keel bolts, let us go into the next step, repair.
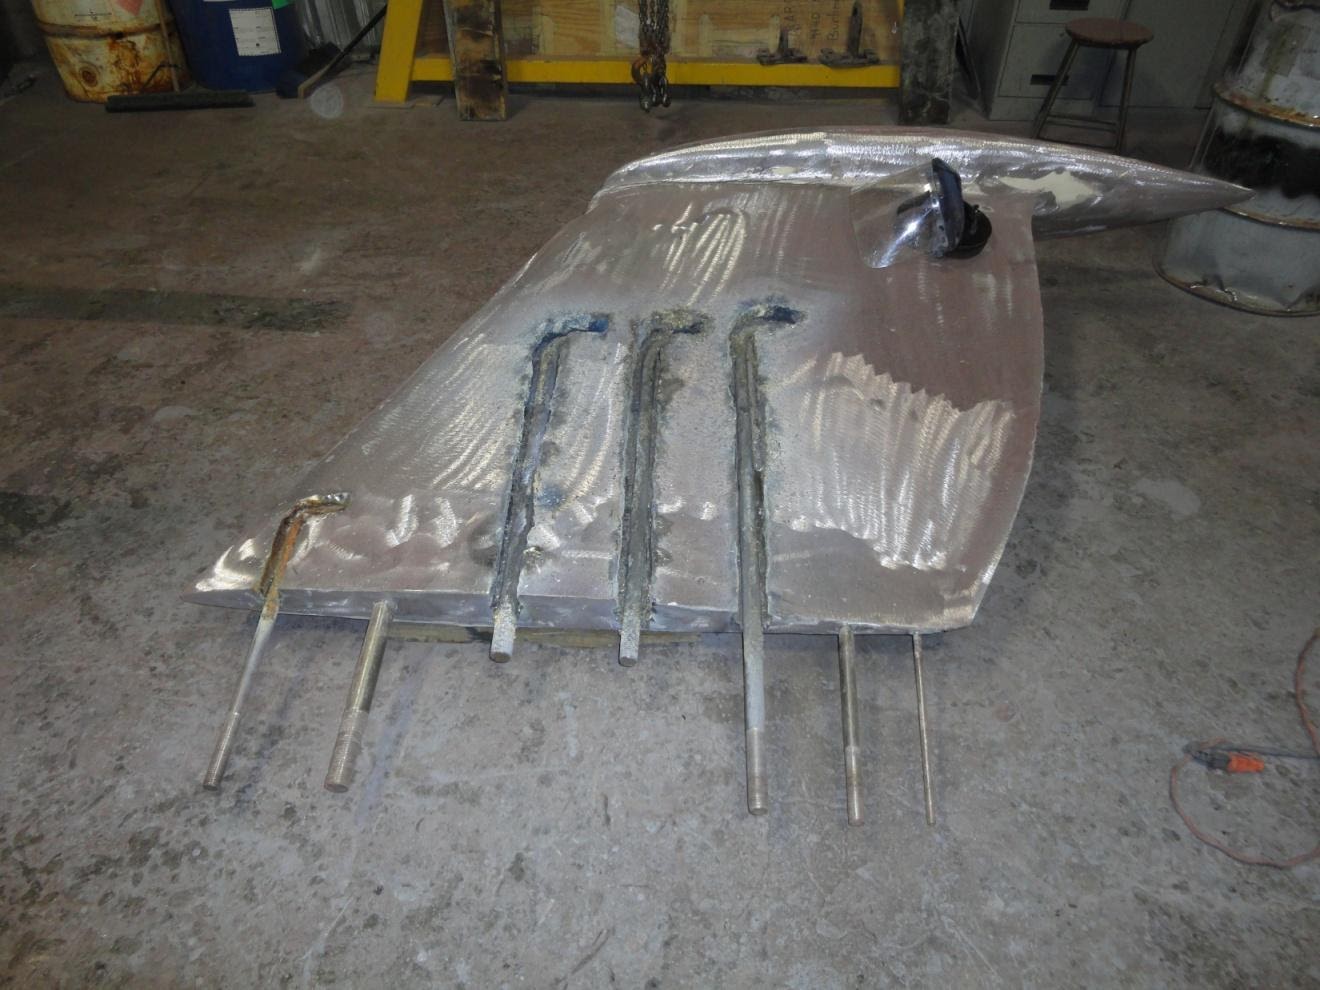
We can easily remove and replace the corroded keel bolts in most lead keels, such as the one below. I can only remember once saying to a customer that we can’t replace the keel bolts. This was discovered long before the keel was removed through the use of the keel construction drawings. This was in an old keel, and based on the drawings of the keel bolts, we found that the bolts were welded together in such a way that the only way to remove them would destroy the keel.
The keel is removed from the boat at the customer’s yard and shipped to us. At our facility, we will replace the keel bolts. We inspect the keel when it arrives to ensure that the bolts that need to be replaced are costed and priced. If there is any change in the number, based on what we see, the customer is alerted, and an agreement is reached on how to move forward. Once it is all set, the physical process begins.
A keel that is in the process of getting the bolts has its bottom paint and fairing ground off. These materials could ignite during the melting process and contaminate the lead for future fusing processes.
Once the keel is in our facility this is the general process we follow:
DO NOT ATTEMPT THIS PROCESS ON A KEEL THAT IS STILL ON A BOAT. DO NOT TAKE THE KEEL OFF AND TRY THIS YOURSELF, IT IS NOT A DIY PROJECT.
Once the old bolts are removed, the new bolts made to the same shape as the old ones are put in place and refused into the keel casting. This is done one bolt at a time, one side at a time, where applicable. The keel is then re faired, coated with Interprotect 2000E barrier coat and packaged for shipment back to the customer.
The process is to melt out the damaged bolt from one side of the keel.
- We melt just enough of the casting away to release the bolt while leaving the recess of the bottom of the bolt in the backside of the casting.
- The existing bolt is removed. If we do not have the technical information on the keel, the bolt is sent out for material analysis to define the alloy it is made of. We did this for a very old keel that appeared to have galvanized mild steel bolts in it. They came back as high-strength material. It is cheap insurance to check the bolt material.
- This recess is used to position the new bolt in the casting.
- Once the new bolt is manufactured and positioned into the casting, the lead is refused back over it.
This process sounds very straightforward and almost simple. The most important part is the refusing of the lead.
If this process is done incorrectly, you have soldered the bolt into place, and it will fail. You need to refuse the casting. This is done by bringing the existing cast material and the new material to the melting point simultaneously. Doing this without damaging the keel more.
This process allows the new and existing lead to flow together, creating a single part as strong as the original casting; it is once again a single casting.
No evidence of work being done to the keel can be found on the lead. You want to do all this without putting so much heat into the keel that it is distorted. It is a true talent. Once the lead is refused, the keel is faired and painted with typically a Interprotect 2000E barrier coat.
So, if you see a problem, think there might be a problem, or want to avoid a problem, have the keel checked by a qualified person. Contact us if there is a problem, we can help you.
Conclusion
We hope now that you have a more complete understanding of what the different parts are to find and fix a keel bolt concern. You can see that you the boat owner has a role to play, your local yard has a role, and we at MarsKeel Technology have a role in bringing your keel back to good condition.
MarsKeel Technology is always here to assist you with all your keel needs.